Wednesday, January 30, 2013

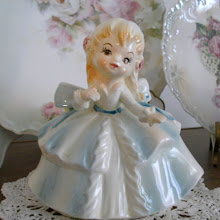
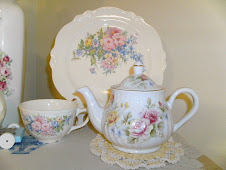
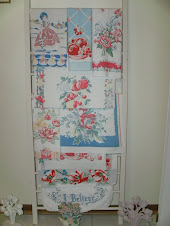
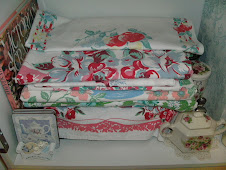
More Views From My Craft Room....

Sharing some more of my favorite things with you today......

 
Including some random word that make me smile....


Including some that I found in rubber stamp form here .....


Hope you all have a lovely day!!!

Saturday, January 26, 2013

A Sewing Themed Wall Hanging....

Hi Girls...

Even though I don't sew myself (something I hope to change someday), I love all sewing themed things and I've acquired quite a few sewing themed rubber stamps to use whenever the mood may strike.

I recently made this small wall hanging which I first covered with scrapbook paper and then I used one of my many dress form stamps to stamp on it.


And of course, a sewing themed wall hanging just wouldn't be complete without some trims and buttons and  a small chipboard needled which I painted with some craft paint to match the color scheme I chose for this little project.


And a few flat back pearls to  make it complete.....


Thanks for stopping by for a visit.  Have a wonderful day!!!

Wednesday, January 23, 2013

Because We Can Never Have Too Much Pretty....

I thought I'd share some with you today.


Have a wonderful day!!

Saturday, January 19, 2013

Quick and Easy Crafts...

Hi Girls...

If you're anything like me, you sometimes need a simple craft project to get your crafting mojo flowing again.

After completing my altered composition notebook project that took me about three weeks to complete, I hit a dry spell and needed something that was a bit less involved and time consuming to get my crafting mojo back again.

So this afternoon, I went into my craft room, pulled out a plain, unfinished chipboard heart shape and turned it into this...
 
 
I just need to add a ribbon to hang it and it will be done.  Not too bad for just an hours work.
 
Hope you are all enjoying your weekend.
 
See you again soon.
 

Wednesday, January 9, 2013

Altered Composition Notebook - Part Two .....

Hey Girls...

I'm back to share more of my altered composition notebook project with you.  In my last post, you got to see how I altered the inside of the notebook.  Now it's time to see how I altered the outside.

I wanted it to have a shabby/vintage look to it, so I modgepodged scraps of some shabby/vintage style scrapbook papers to the front and back covers....


I added one of the new fabric flowers I had recently purchased at Michael's in the corner..


Then I painted the black spine of the notebook with some pale pink craft paint and covered it with some wide lace trim I had in my stash, adhering it with my hot glue gun....


I also added a strip of some vintage looking velvet crochet trim to the edge....


I love how it turned out and even though it took me longer to complete than I first thought it would, it was a fun project to work on.

All that's left now is deciding on what type of closure I will use for the notebook.  I'm thinking I will punch small holes in the front and back covers to thread some ribbon through to tie them together for a simple and easy closure.  And later, I will probably add some bits and pieces of other small embellishments and images to pretty up the inside pages even more.

Well, that's all until next time.  See you soon!!!

Sunday, January 6, 2013

Altered Composition Notebook.....

Hi Girls...
 
Whew... I finally finished the big part of my latest craft project so now it's time for you to see what I've been up to lately. I started this project about a week or so before Christmas and just finished it yesterday. 

It all started with this $1.oo composition notebook that I bought at the dollar store.
 

I wanted to create another scrappy altered art journal/book similar to the one I made last summer using a vintage ledger book.  You can see that post here.
 
Following the same steps that I did with my first altered journal, I started by first tearing out about one third of the pages in the notebook to thin it out a bit (you'll see why later...), then I went through the notebook modgepodging sections of three pages together throughout the notebook to make them thicker and more sturdy.
 
Then came the fun and somewhat messy part which was modgepodging small scraps of scrapbook paper in a random patchwork pattern throughout the notebook. 
 
These are some of the finished pages.


With a few little oop's along the way when some of the pages would stick together and the paper would tear in spots as I pulled them apart.


By the time I was done with this part, the notebook had nearly tripled in thickness (hence the need for the earlier removing of about one third of the pages before I started) and I had gone through nearly a full 16 0z. bottle of Modge Podge.


In my next post, I'll show you how I altered the outside of the notebook. 
 
Stay tuned......